
Can You Paint Shoes at Home?
5 August 2026 · 5 min read
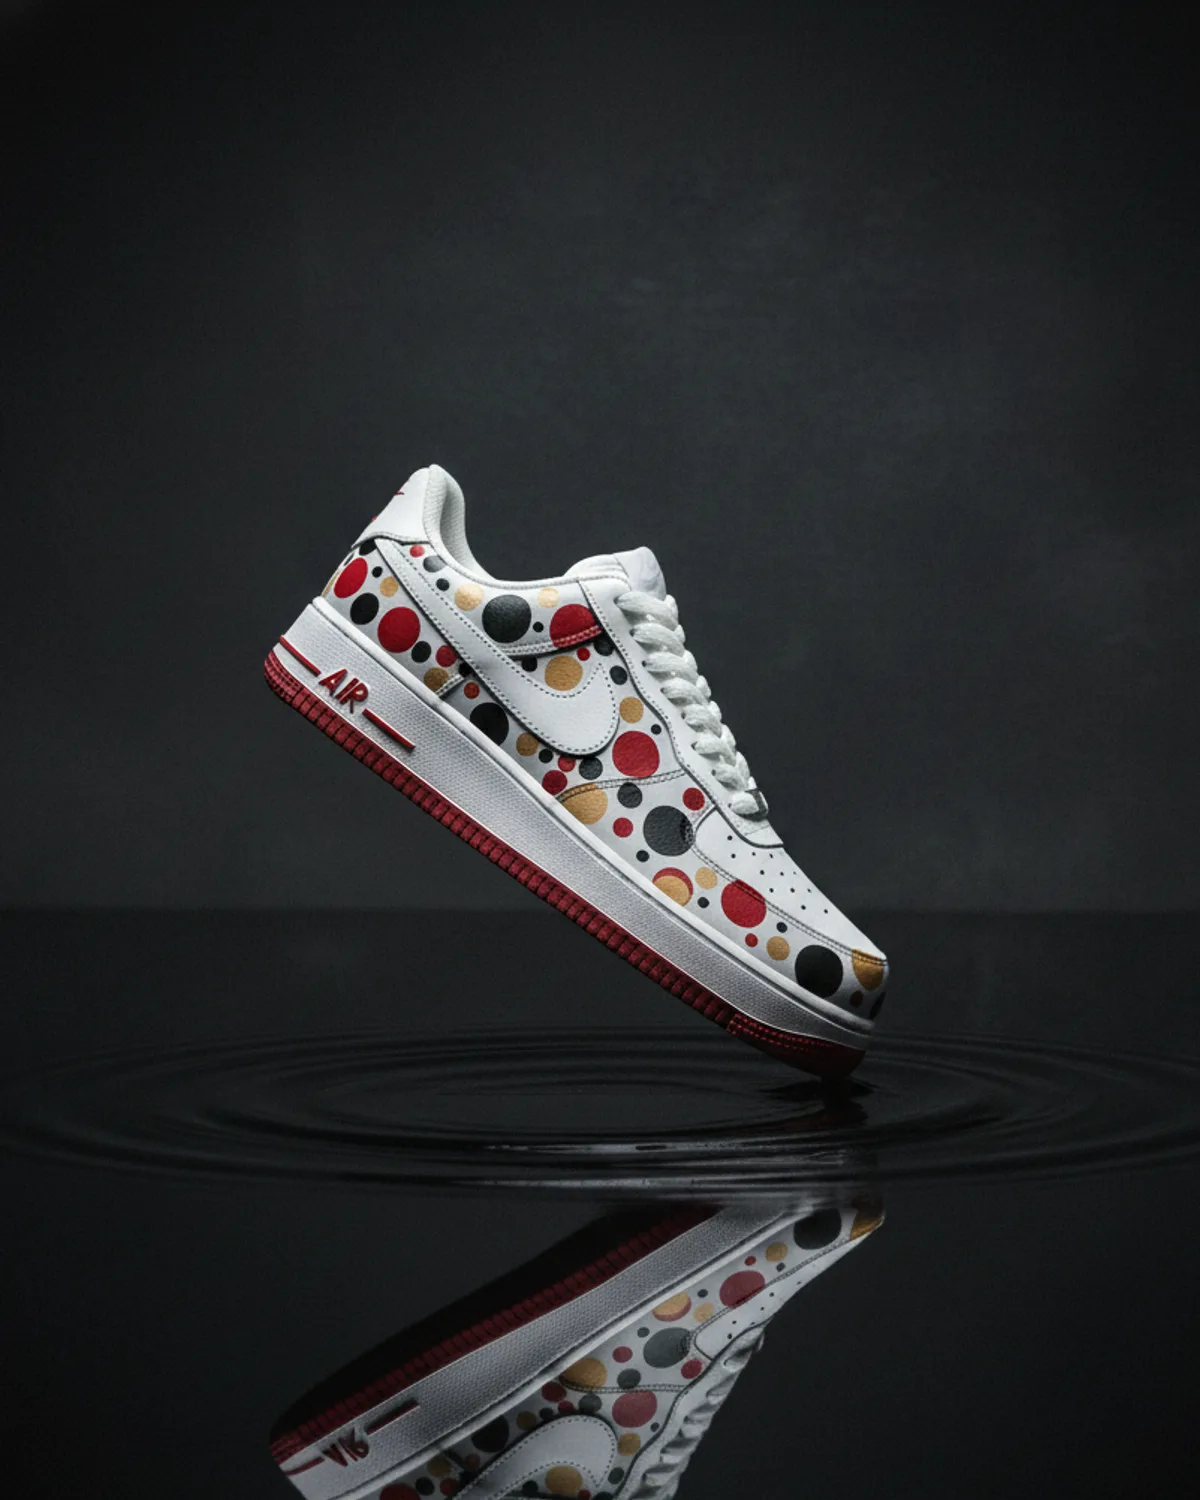
The toe box of a sneaker folds and unfolds every time you take a step. That one fact decides almost everything about painting a pair at home, because the real question is not whether it looks good on Sunday night when you put the brush down. It is whether it still looks like that in a month. Yes, you can paint shoes at home, on a kitchen table, with a few bottles and a packet of cotton pads. What separates a pair that lasts from a pair that flakes happens almost entirely in the first hour and the last.
Start with the paint, because a lot of first attempts are lost right here. Craft acrylic from a stationery shop will go onto leather, cover well, and look convincing while it dries. It also dries into a comparatively rigid film, and a rigid film across a crease has exactly one future. What you want is an acrylic formulated for leather; Angelus is the reference brand for good reason. We work with high-grade acrylics and oils in the studio, but oils at a kitchen table mean solvents, long drying times and a mess you do not want near where people eat. For a first pair at home: leather acrylic, nothing more complicated.
Then prep, the step almost everyone skips. The factory finish on leather is engineered to shed water, dirt and, inconveniently for you, paint. Paint straight onto it and the colour sits on a slick surface like varnish on glass, then lifts away in sheets at the first crease. The finish has to come off the panels you intend to paint: a cotton pad with acetone or a purpose-made leather deglazer, worked in small circles until the shine is gone and the panel is matte. One plain safety line, because this matters more at a kitchen table than in a workshop. Acetone and deglazers are solvents. Work by an open window or outdoors, keep them away from any flame or lit stove, keep them away from children and pets, and wear gloves if your skin reacts. Damp the pad, never soak the shoe.
Mask before you open a single bottle. Laces out entirely. Painter's tape along the top of the midsole, pressed down hard with a fingernail so nothing wicks underneath, and tape around the swoosh if you are leaving it as it came. Stuff the shoe with paper so the panels sit taut instead of collapsing under the brush. Anything you do not tape now, you will be cleaning off later with a cotton bud.
Now the rule that does more for durability than anything you can buy: thin coats, never one thick one. A thick coat looks efficient but dries as a skin sitting on top of the leather rather than bonded into it, and a skin splits at the crease. Three or four thin passes will outlast one heavy pass, and give flatter colour. Let each coat dry properly before the next. Touch-dry is not dry, and a coat laid over one that had not finished drying is why some home pairs stay tacky for a week.
Flex additives come up in every customiser thread online. Here is the honest version. Angelus 2-Soft thinned into the paint keeps the dried film softer and is useful on high-flex panels. Golden GAC 900 gets recommended constantly, usually with a crucial detail left out: it only works as advertised once the dried film has been set at high temperature with an iron or a press, the manufacturer's own guidance warns that this step gives off fumes and calls for proper ventilation, and running a hot iron over a fully assembled shoe with a foam midsole and glued seams is awkward at best. Thin coats will do more for you than any additive in the cupboard.
Finish with a flexible acrylic sealer, again in several thin coats, and let it cure before the pair goes anywhere near a pavement. Why a prepped and sealed pair survives thousands of creases while an unprepped one gives up in a fortnight is a longer story about bonding and film flexibility. There is a separate piece in this journal, Why Doesn't the Paint Come Off, that works through it properly. Read that one rather than have it repeated here.
The failures are boringly consistent, which is good news: they are avoidable. Cracking along the crease across the toe is nearly always thick coats, rigid paint, or both. Peeling in sheets is prep, every time. A finish that stays tacky for days is a coat applied over one that had not dried. And wearing the pair too soon: dry paint is not cured paint, and the first long walk decides more than the painting did.
It is also worth being honest about the ceiling. Your first home pair will not look like a studio pair, and it would be odd if it did. What a studio charges for is days of a trained hand on curved panels: freehand line work, layering, cure time, sealing, and the judgement to know when a panel is finished. Across the Western market a hand-painted commission tends to land between USD 350 and 900 a pair, almost none of it materials. The gap is not in the bottles.
None of which is a reason not to try. Painting your own shoes is one of the few crafts where feedback arrives fast, the entry cost is low, and you wear the result. Just do it on a pair you would genuinely not mind ruining: something from the back of the cupboard, or the cheapest plain white leather trainer you can find.
Buy the cheap pair first. The good pair can wait.
Ready to Start Your Own?